Web Configuration
Using BMC Web UI
In the address bar of your Internet browser, input the IP address of the remote server to access the BMC interface of that server.

Initial access of BMC prompts you to enter the User Name and Password. A screenshot of the login screen is given below:
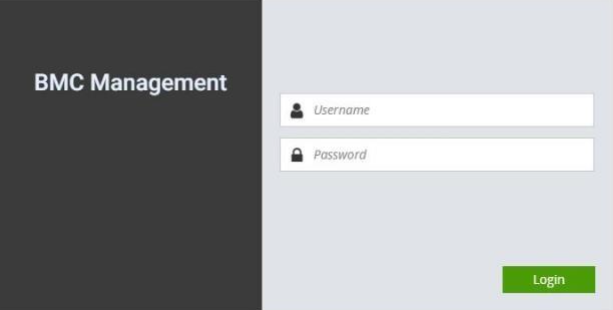
Username: Enter your username in this field.
Password: Enter your password in this field.
Sign me in: After entering the required credentials, click the Sign me in to log in to Web UI.
Note: (1) If not specified, the default IP to access BMC is https://192.168.0.100.
(2) Please use https to access Web UI.
Default User Name and Password
Username: admin
Password: admin
The default username and password are in lower-case characters. When you log in using the default username and password, you will get full administrative rights, and it will ask you to change the default password once you log in. The dialog is shown below:
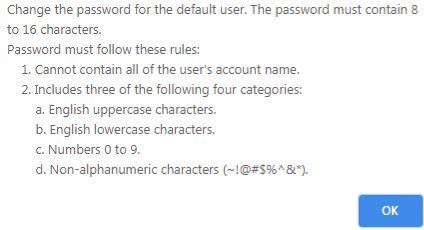
Clicking on OK will take you to set a password.
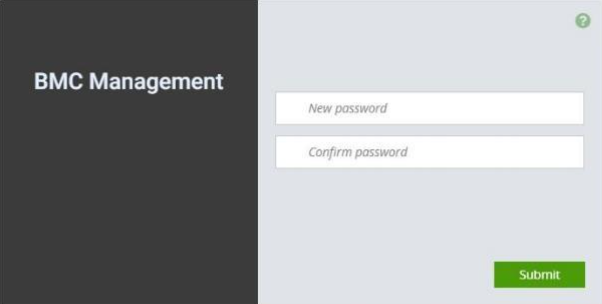
Change the default password – Set password
First Time Wizard Page Introduction
After the first-time login, you will see first time wizard welcome page as the following picture. Please press the “Next” button and configure your BMC step by step.
On the “IPv4”, “IPv6” and “DNS” pages, you could specify the hostname and network settings of BMC.
On the “Remote Control” page, you could specify allowed IP region which could access KVM and Remote media web pages.
On the “Date and Time” page, you could specify the NTP and time settings.
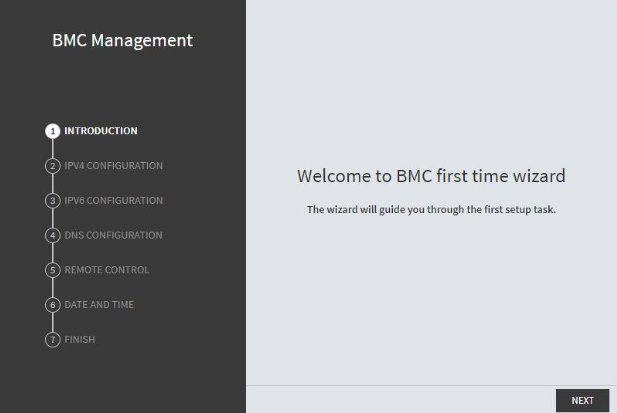
In the final page, please press “Finish” button to complete the first-time wizard. BMC will be rebooted and apply new settings. You could reconnect to the WebUI after a few minutes.
Web UI Layout Introduction
The BMC Web UI consists of various menu items:
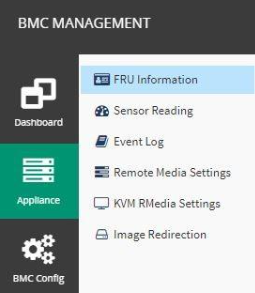
Menu Bar
A screenshot of the menu bar is shown below, please select the page you would like to navigate.
Quick Button and Logged-in User
The user information and quick buttons are located at the top right of the Web UI.

Logged-in user information: Click the User to view the logged-in user information.
A screenshot of the logged-in user information is shown below:
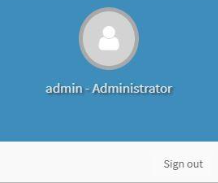
The logged-in user information shows the logged-in user’s username, user privilege, with the quick buttons allowing you to perform the following functions:
Refresh: reload the current page.
Sign out: log out of the Web UI.
Logged-in User and its Privilege Level
This option shows the logged-in username and privilege. There are four kinds of privileges:
User: Only valid commands are allowed.
Operator: All BMC commands are allowed except for the configuration commands that can change the behavior of the out-of-hand interfaces.
Administrator: All BMC commands are allowed.
No Access: Login access denied.
Help
Help: The Help icon is located at the top right of each page in Web UI. Click this help icon to view more detailed field descriptions.
Dashboard
The dashboard page gives the overall information about the status of a device. To open the Dashboard page, click Dashboard from the menu bar. A sample screenshot of the Dashboard page is shown below:
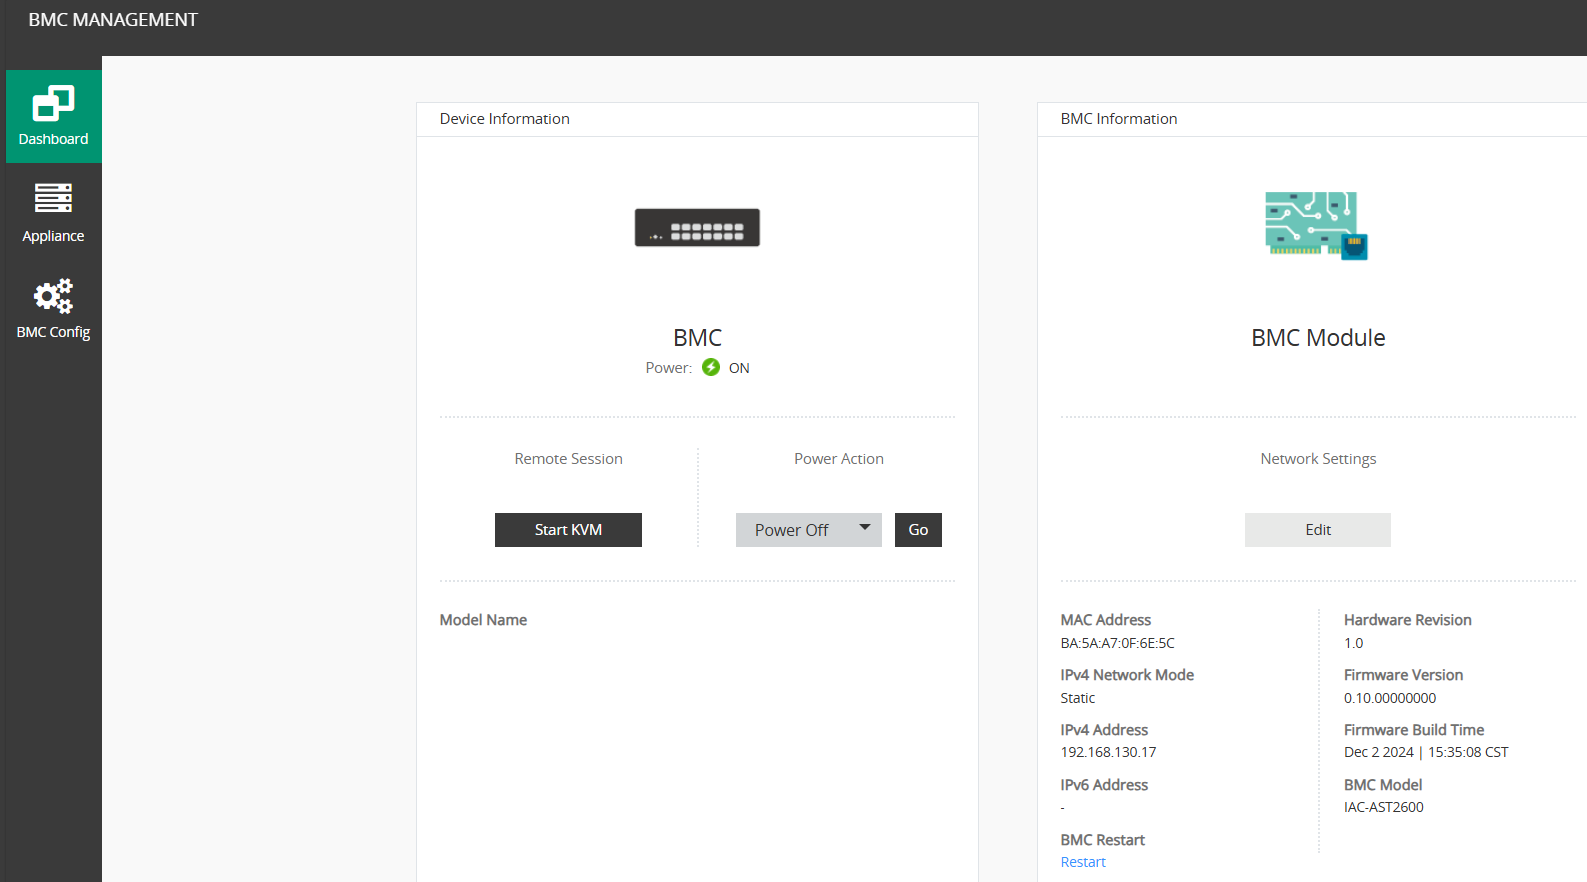
A brief description of the Dashboard page is given below:
Device Information This indicates the system information such as power status, model name and serial number. You could also execute power action and remote KVM here.
BMC Information
This indicates the BMC module information such as network settings, firmware info, and model name.