Hardware Installation
Safety Notice
To reduce the risk of personal injury, electric shock, or damage to the system, please remove all power connections to shut down the device completely.
Opening the Chassis
Power off the system. Loosen the two screws on the rear panel and one screw on each side.

Lift the cover up to remove.
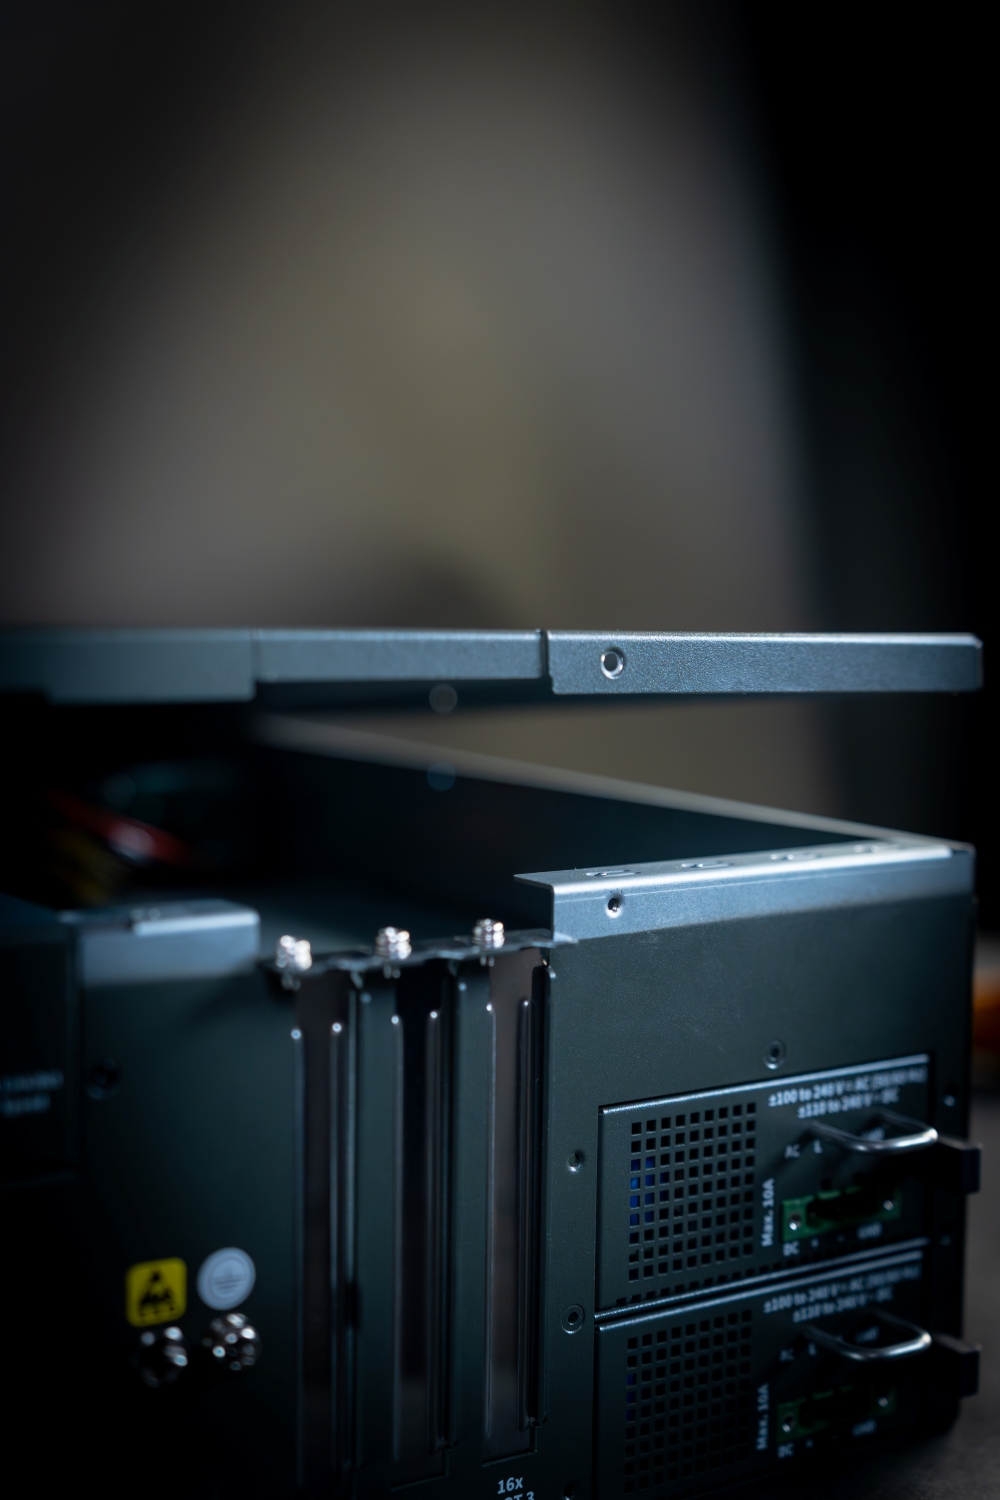
Gently release the latch by pulling it.
Ensure the latch is fully disengaged before lifting or removing the cover to avoid damage.
Install a Graphics Card or Expansion Card
Power Off and Prepare
Shut down the system and disconnect the power cable.
Ground yourself to prevent electrostatic discharge (ESD). Use an ESD strap if available.
Gather a screwdriver and the card you want to install.
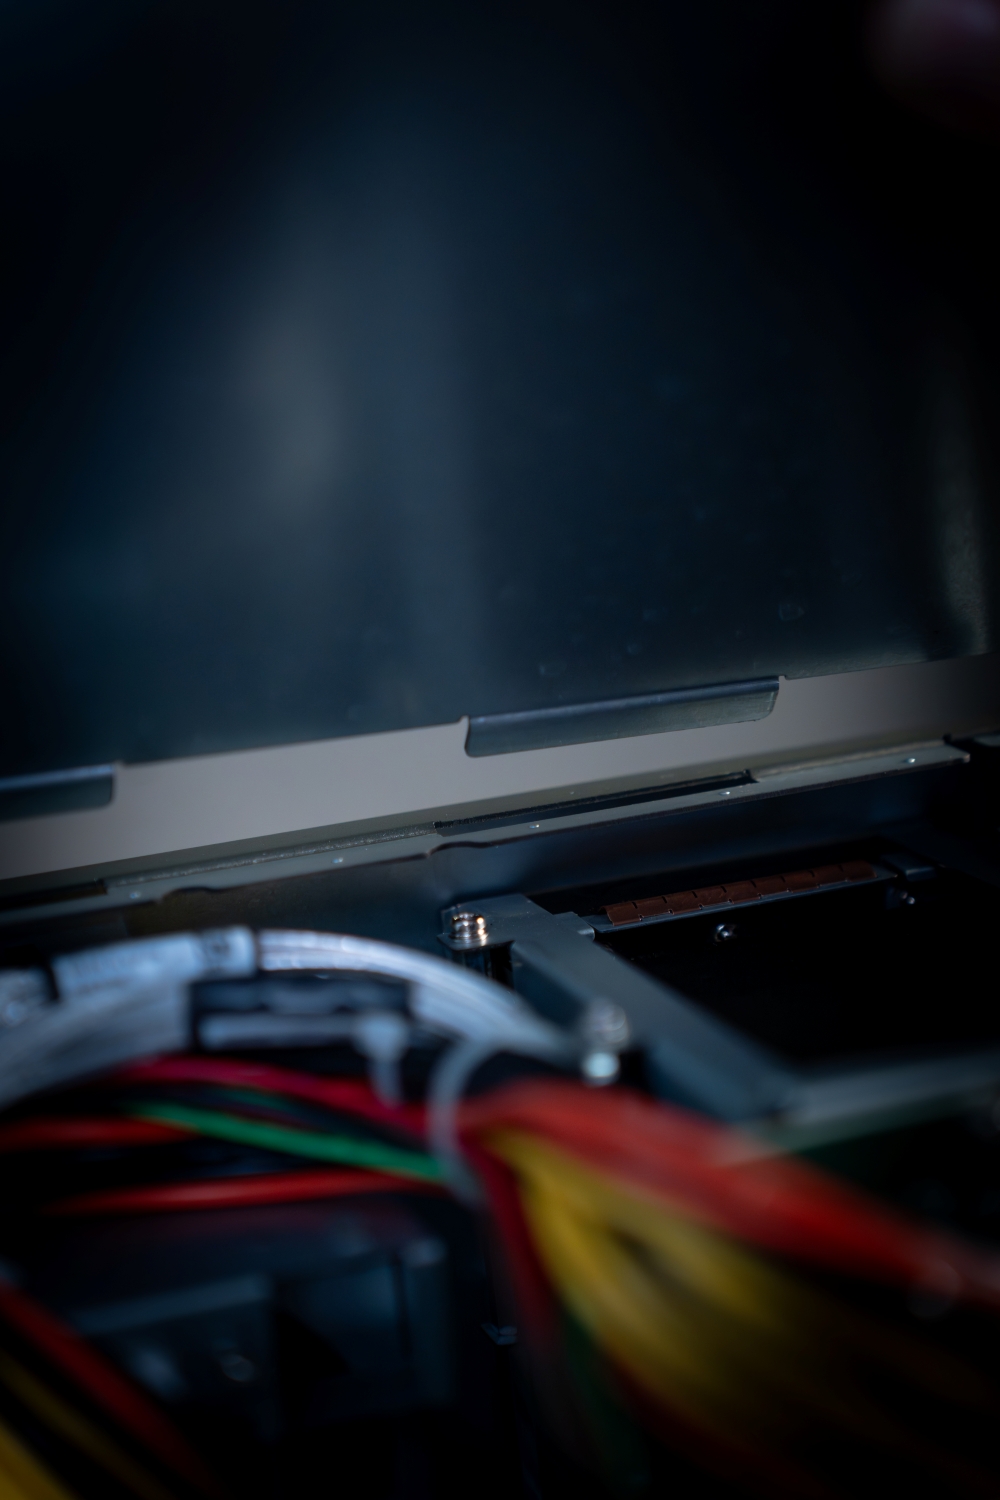
Open the Chassis
Remove the screws or release the latch securing the chassis cover.
Carefully remove the cover to access the internal components.
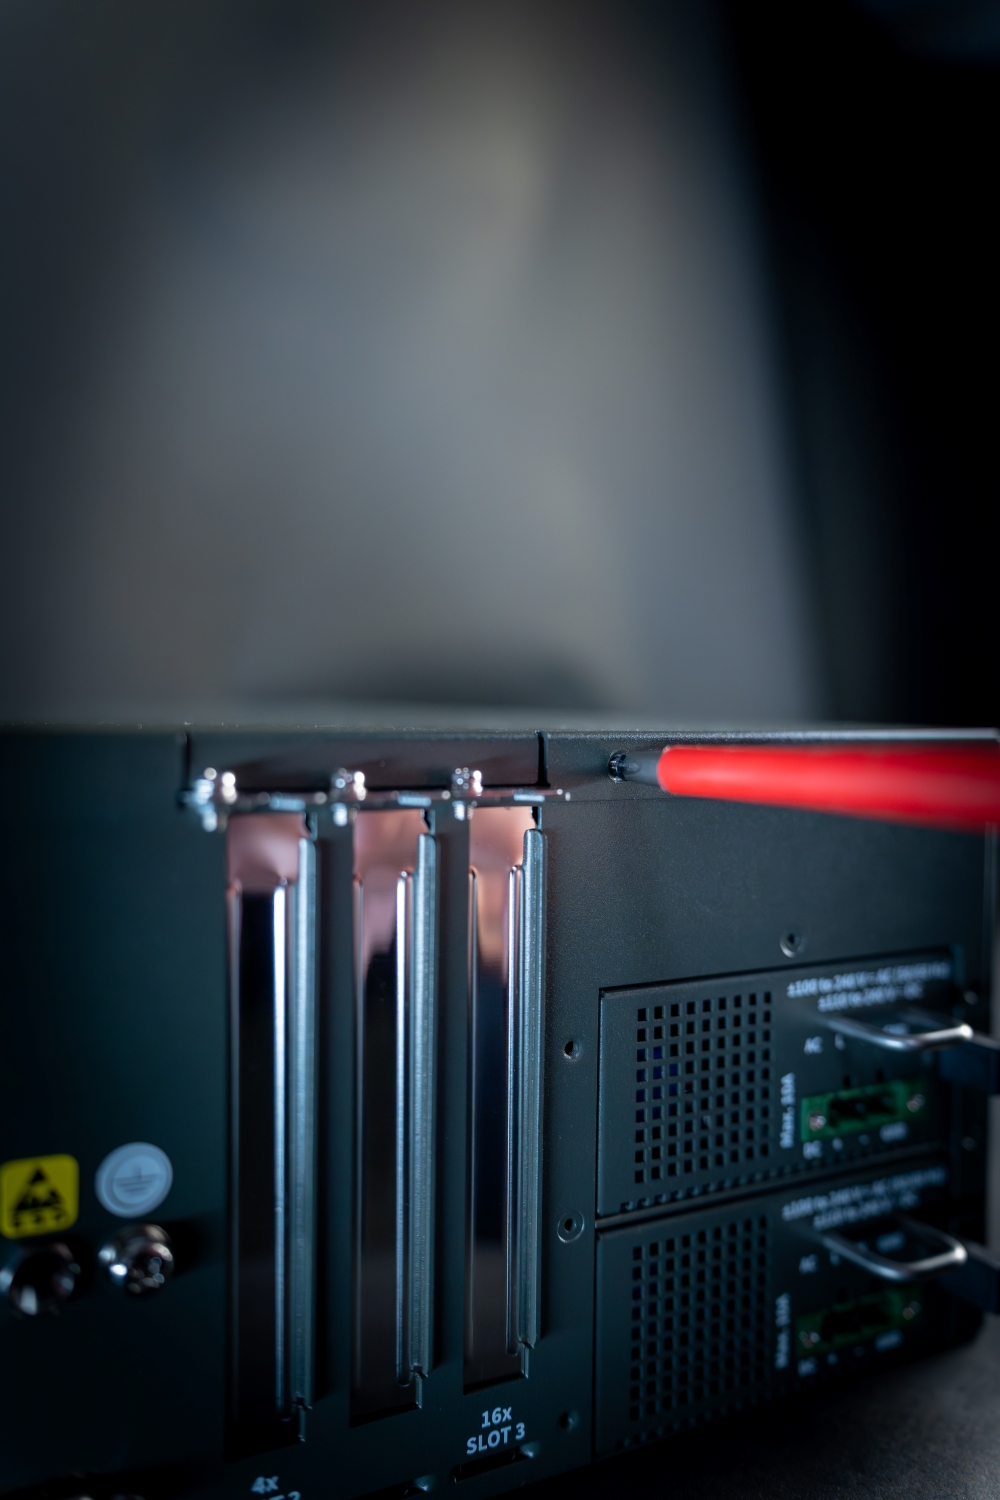
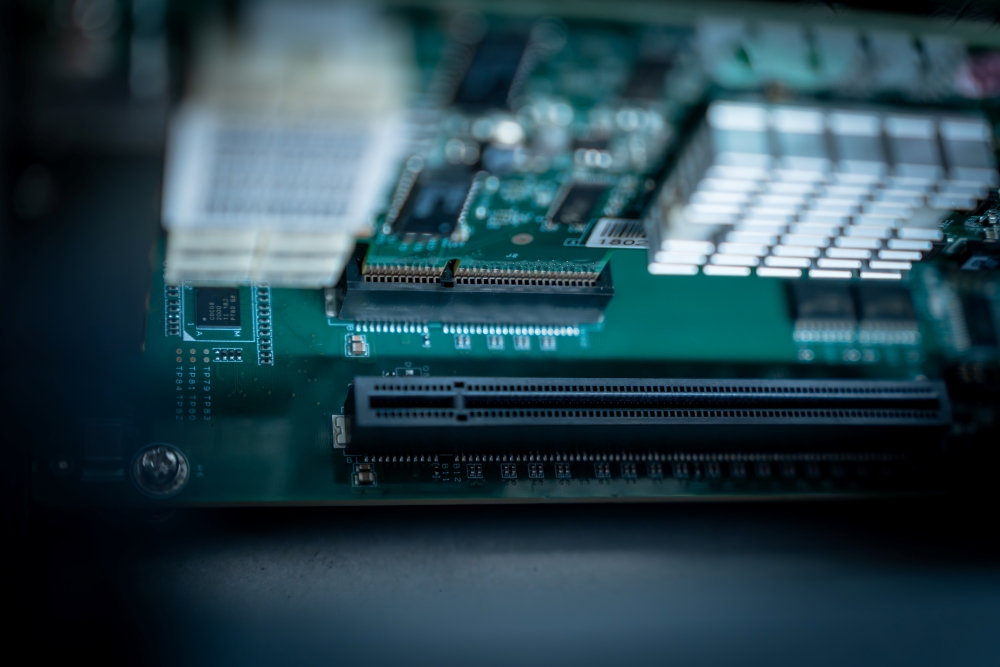
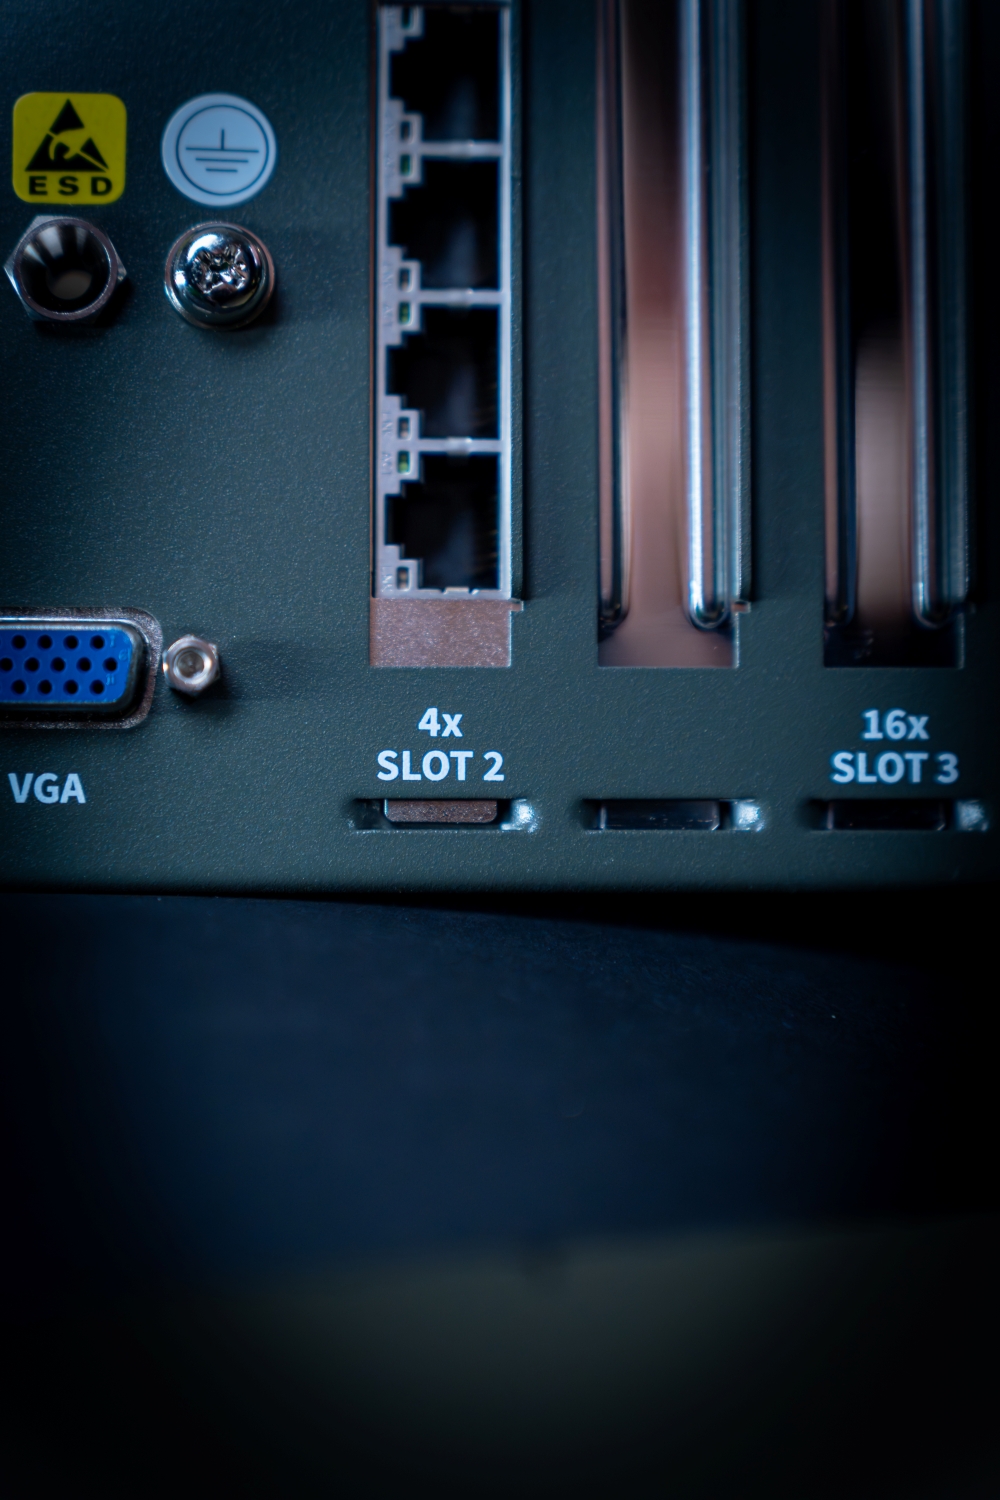
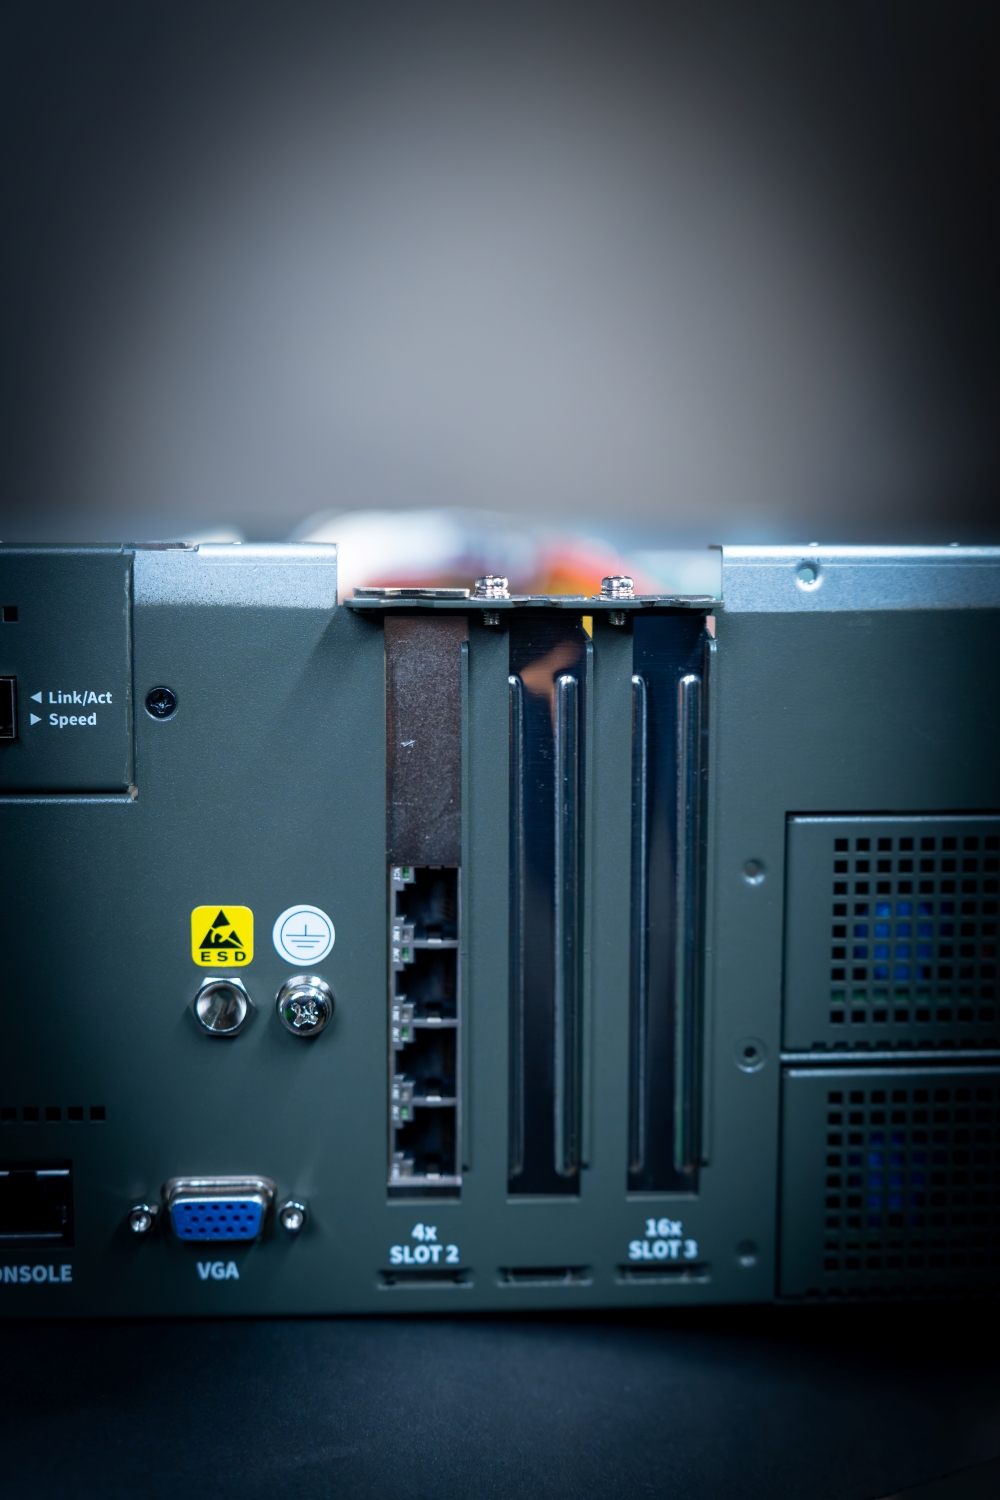
Locate the PCIe Slots
Identify the appropriate PCIe slot for your card (e.g., x16 for graphics cards, x4 for smaller expansion cards).
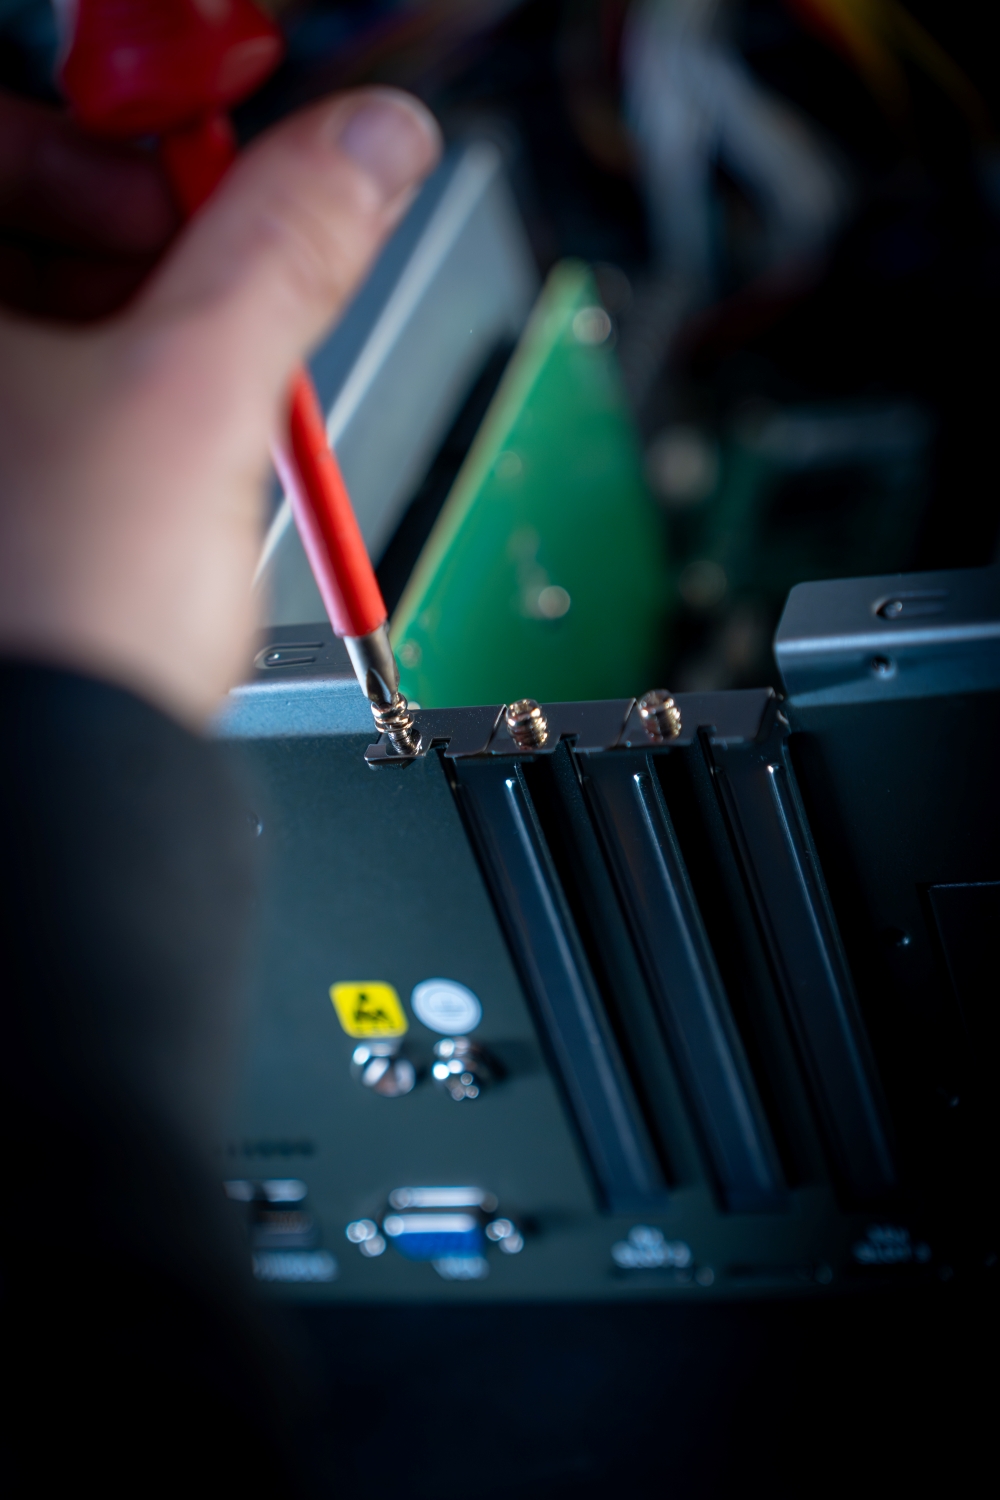
Remove the Slot Cover
Unscrew and remove the metal bracket covering the slot on the rear panel
Keep the screws for later use.
Insert the Card
Align the card’s connector with the PCIe slot.
- Ensure the card’s bracket fits into the rear panel opening.
- Press down firmly until the card is fully seated in the slot.

Secure the Card
Use the screws you removed earlier to fasten the card’s bracket to the chassis (see fourth and fifth images).
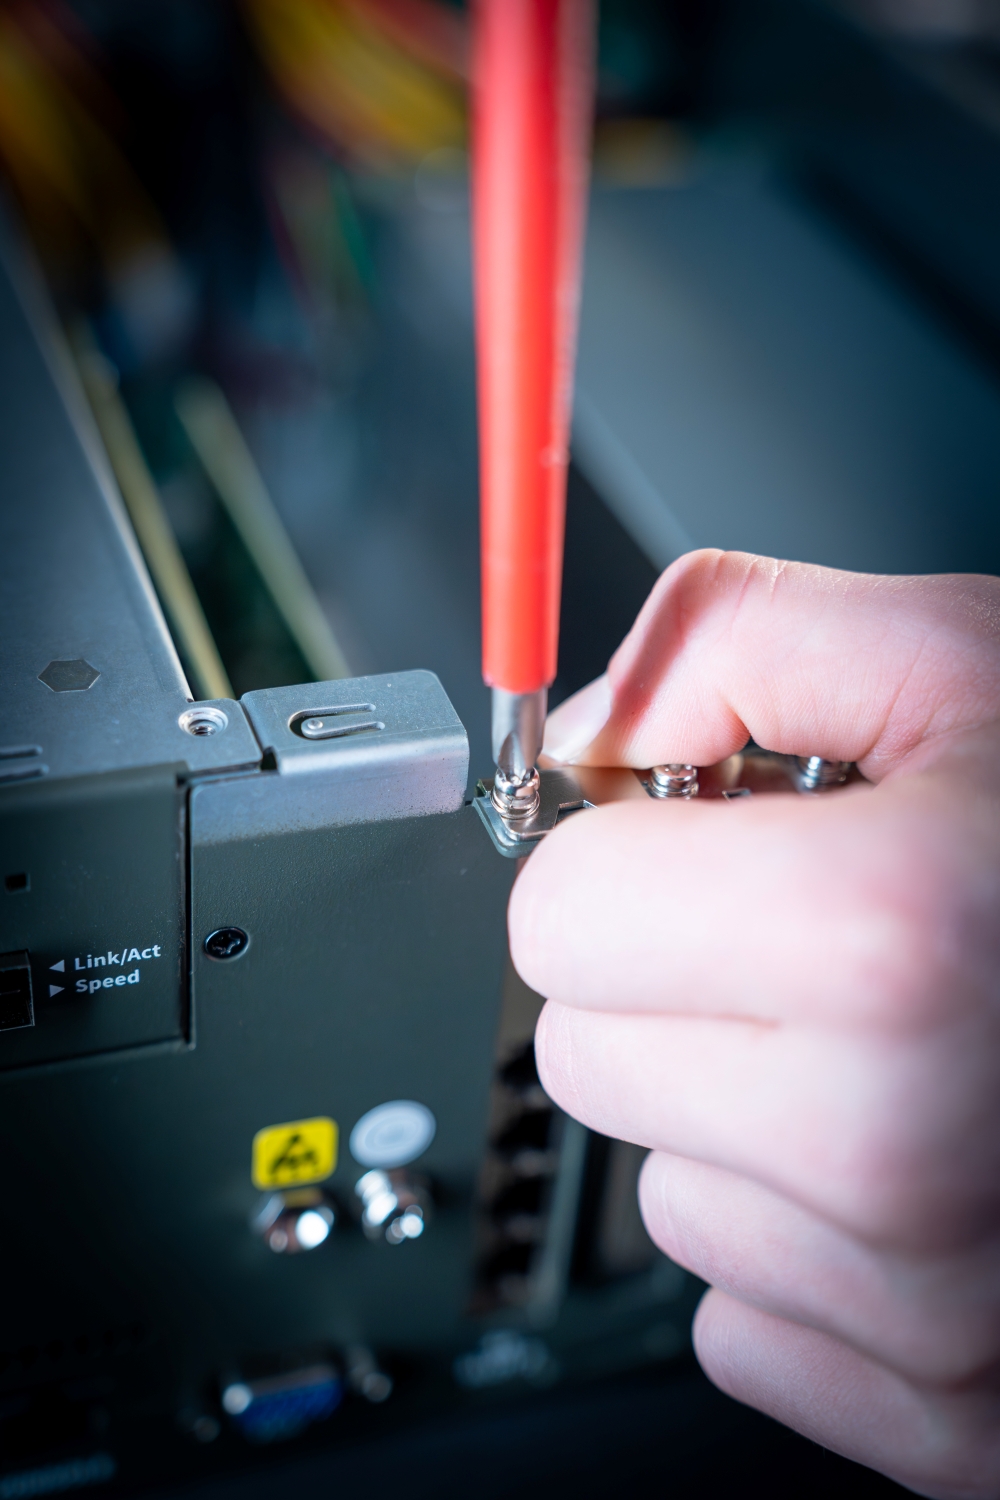
Make sure the card is stable and does not move.
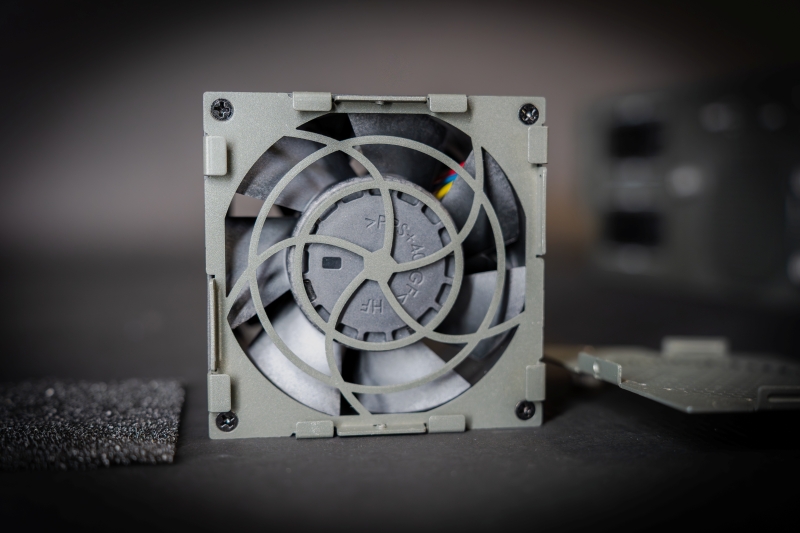
Replacing the Smart Cooling Fans
Cooling Fans may wear down eventually, please refer to the steps below for replacing smart cooling fans.
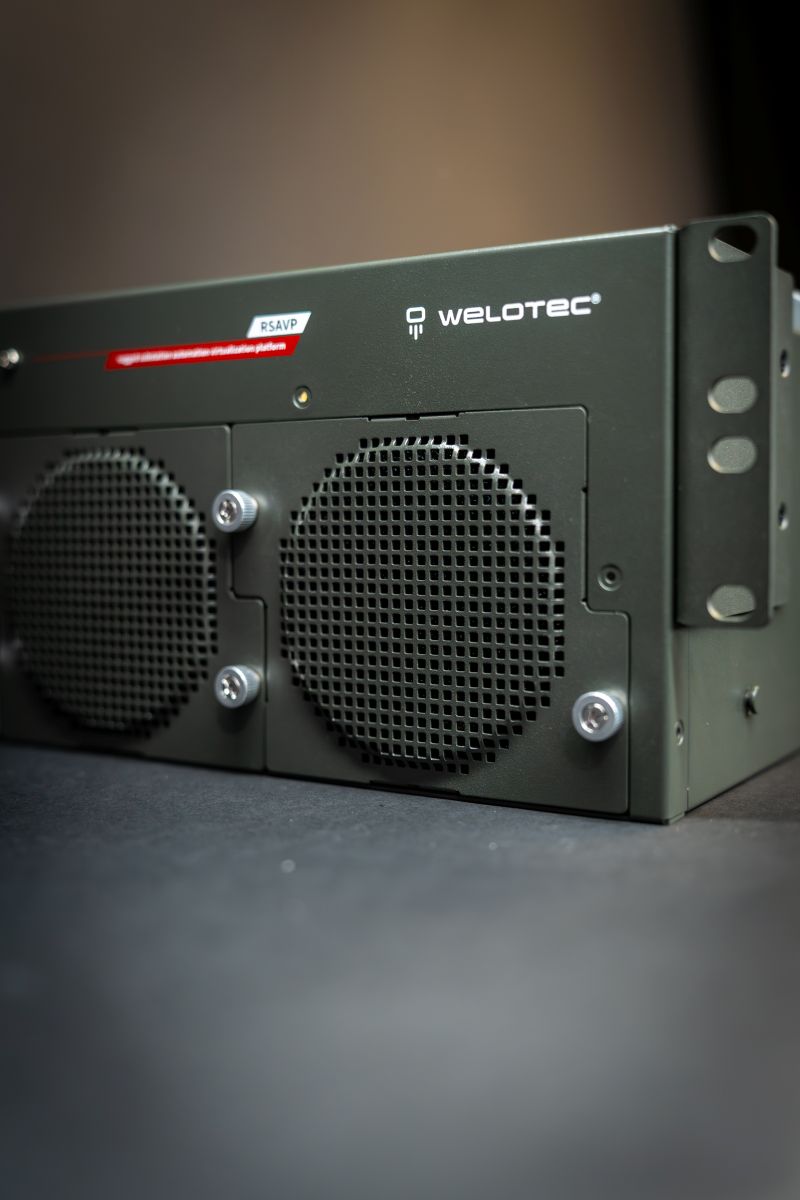
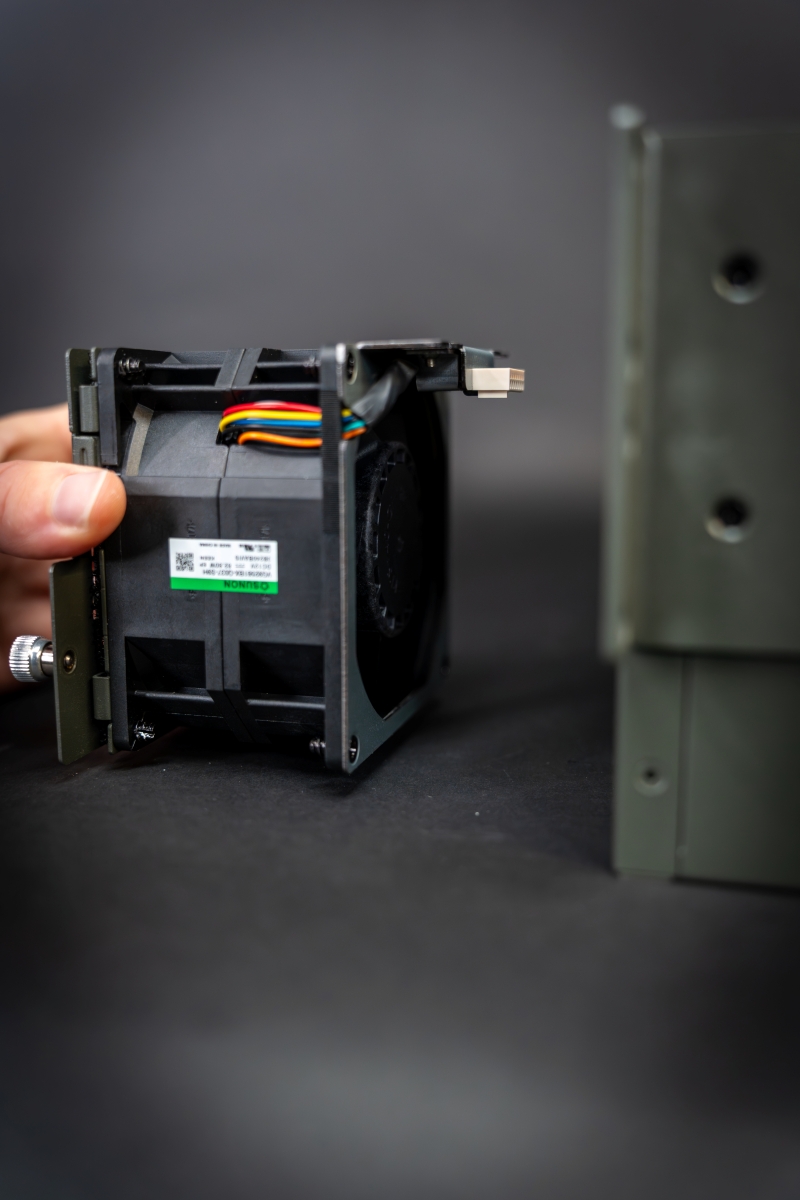
Power off the system and locate the cooling fans on the front panel.
Using a screwdriver, loosen the two lock-screws of the fan you would like to replace
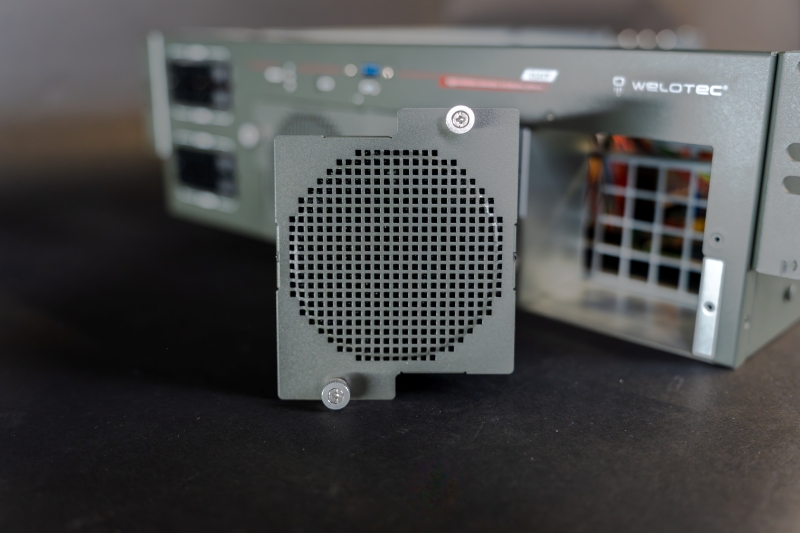
Hold onto the lock screw and gently pull out the cooling fan
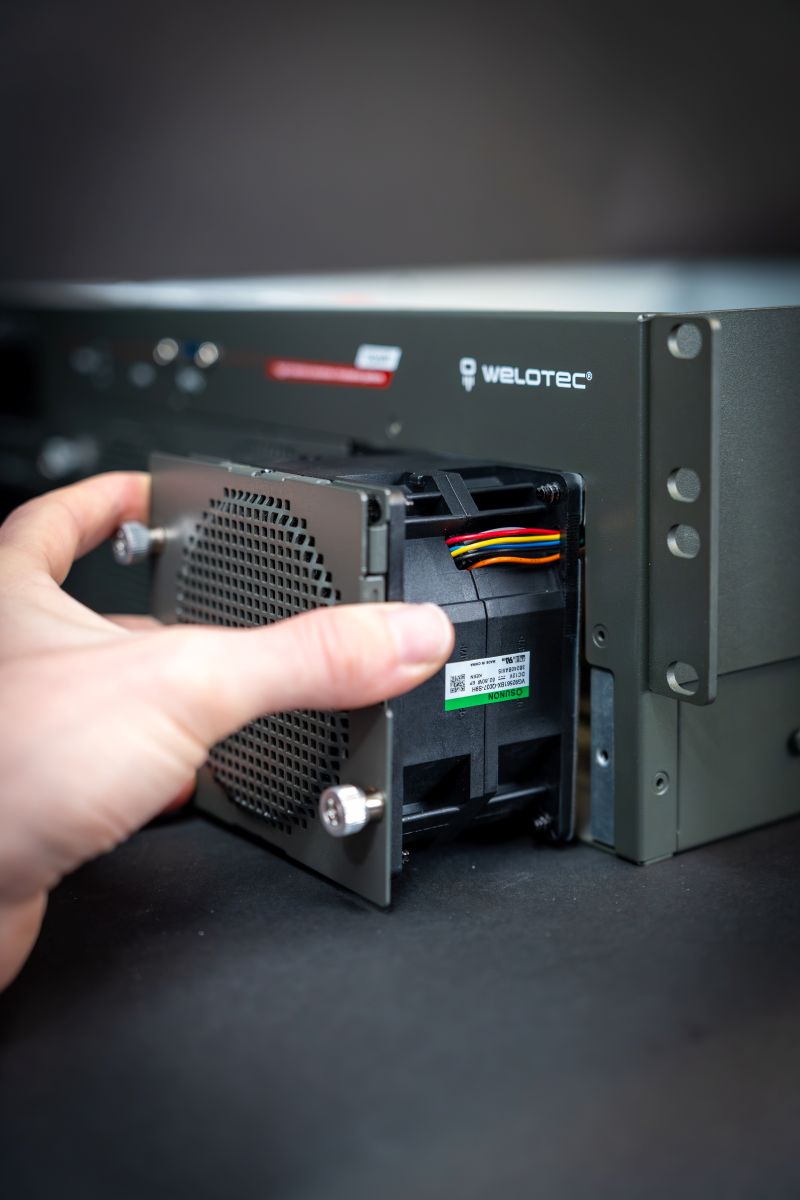
Insert a new fan into the fan bracket and push until it clicks into place and screw in the two lock-screws.
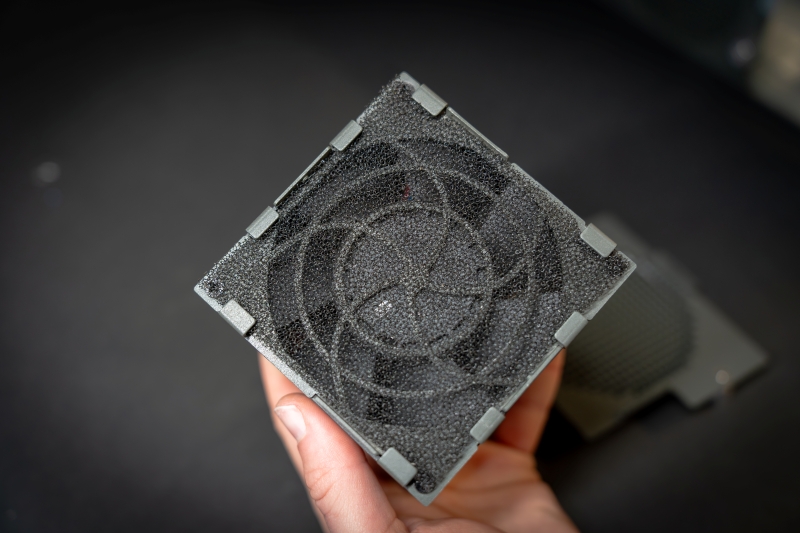
Changing the filter of the Smart Cooling Fans
Follow these steps to replace the filter:
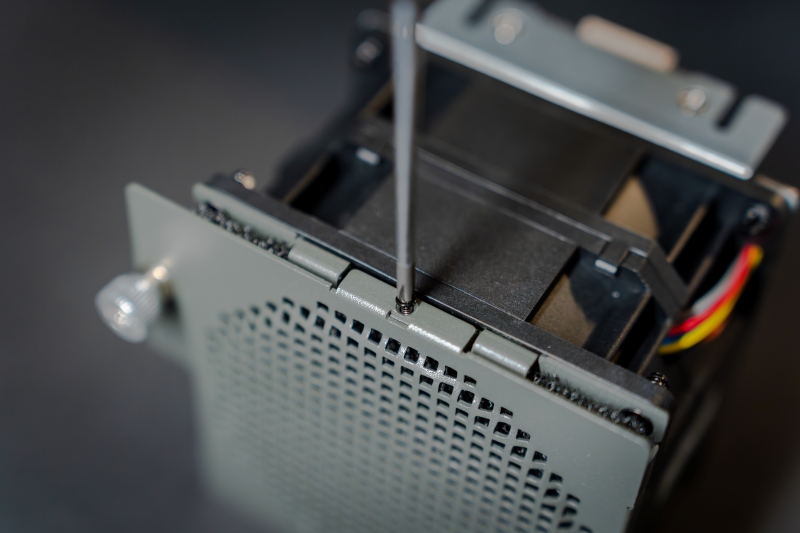
Remove the Smart Cooling Fan by loosening the two mounting screws by hand or with a screwdriver.
Carefully pull the Smart Cooling Fan out of the device.
Remove the screws on the top and bottom of the Smart Cooling Fan housing.
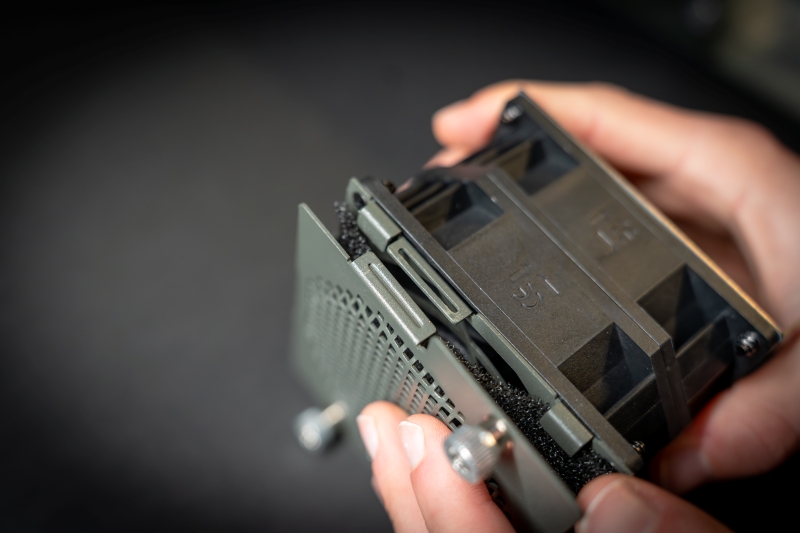
Release the cover by gently unclipping it.
Take out the filter mat.
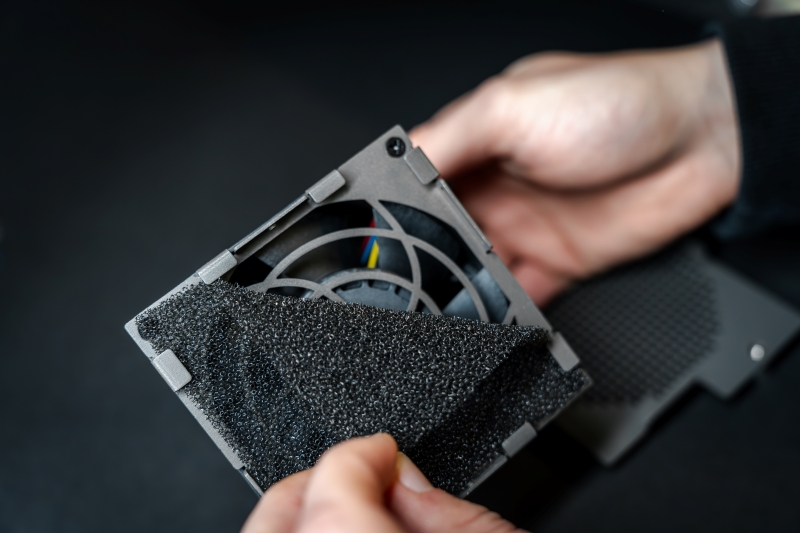
Insert a new filter mat and ensure it is properly seated in the corners.
Align the cover with the clips and snap it back into place.
Reinstall all previously removed screws.
Align the plug of the Smart Cooling Fan with the connector inside the device.
Slide the Smart Cooling Fan back into the device.
Secure the Smart Cooling Fan by tightening the mounting screws.
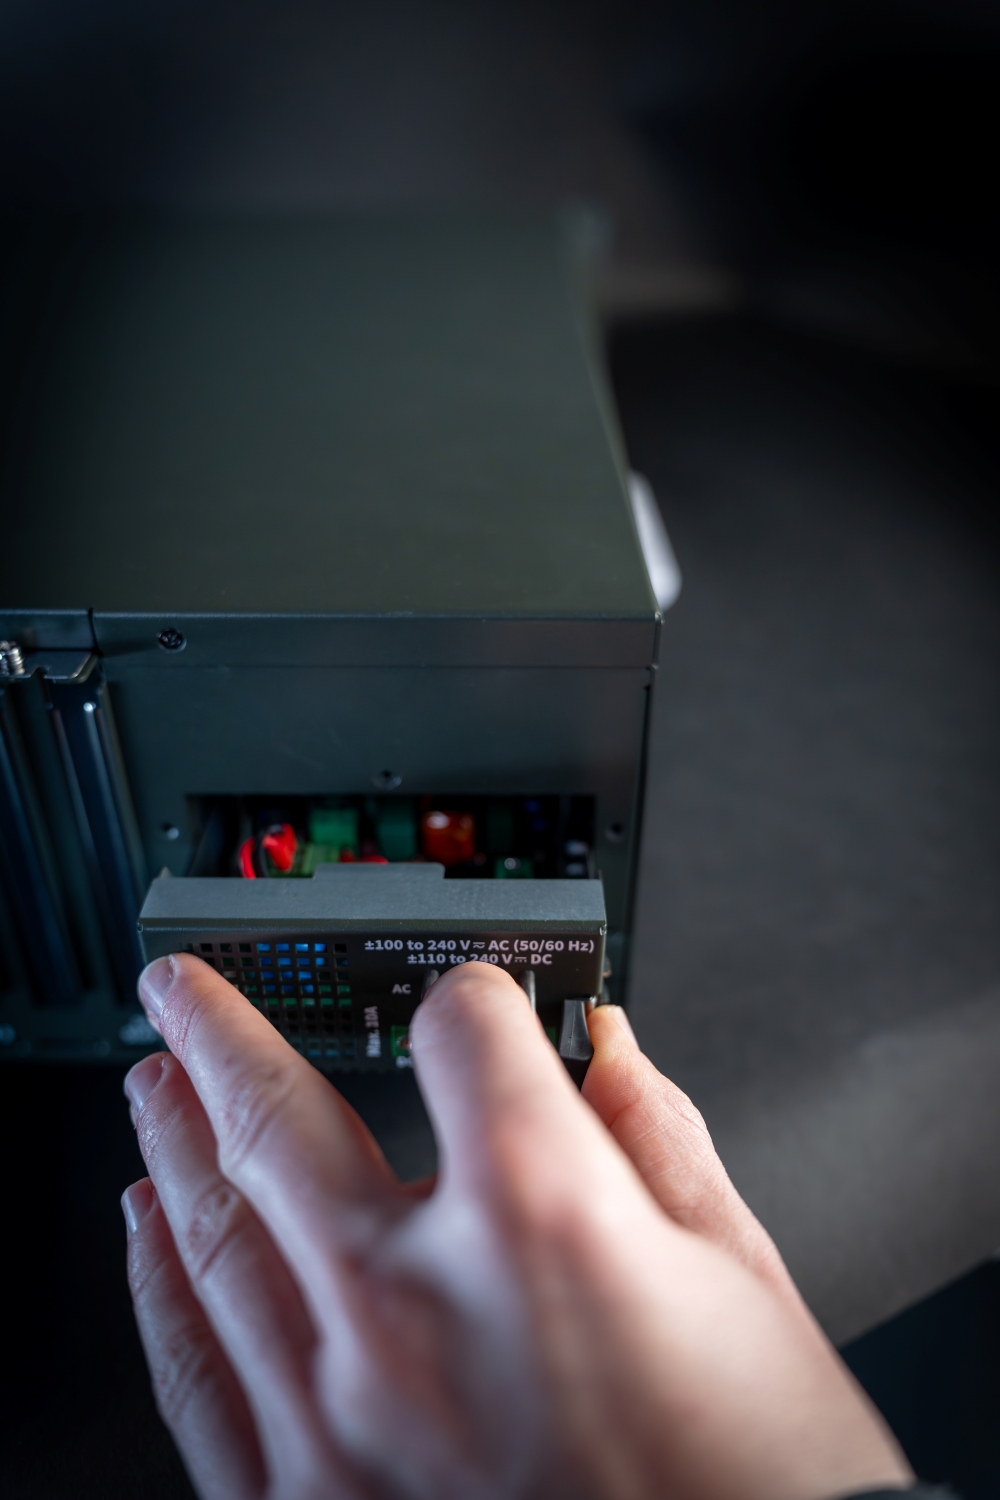
Replacing the Power Supply Untis
Power supply units can wear down over time. The RSAVP is compatible with dual power input up to 750W each, based on your chosen configuration. Ensure to use power supply units that align with these capacities.
Power off the system and locate the power supply untis on the rear panel.
Grip the handle and press the lever inward to pull out the power supply unit.
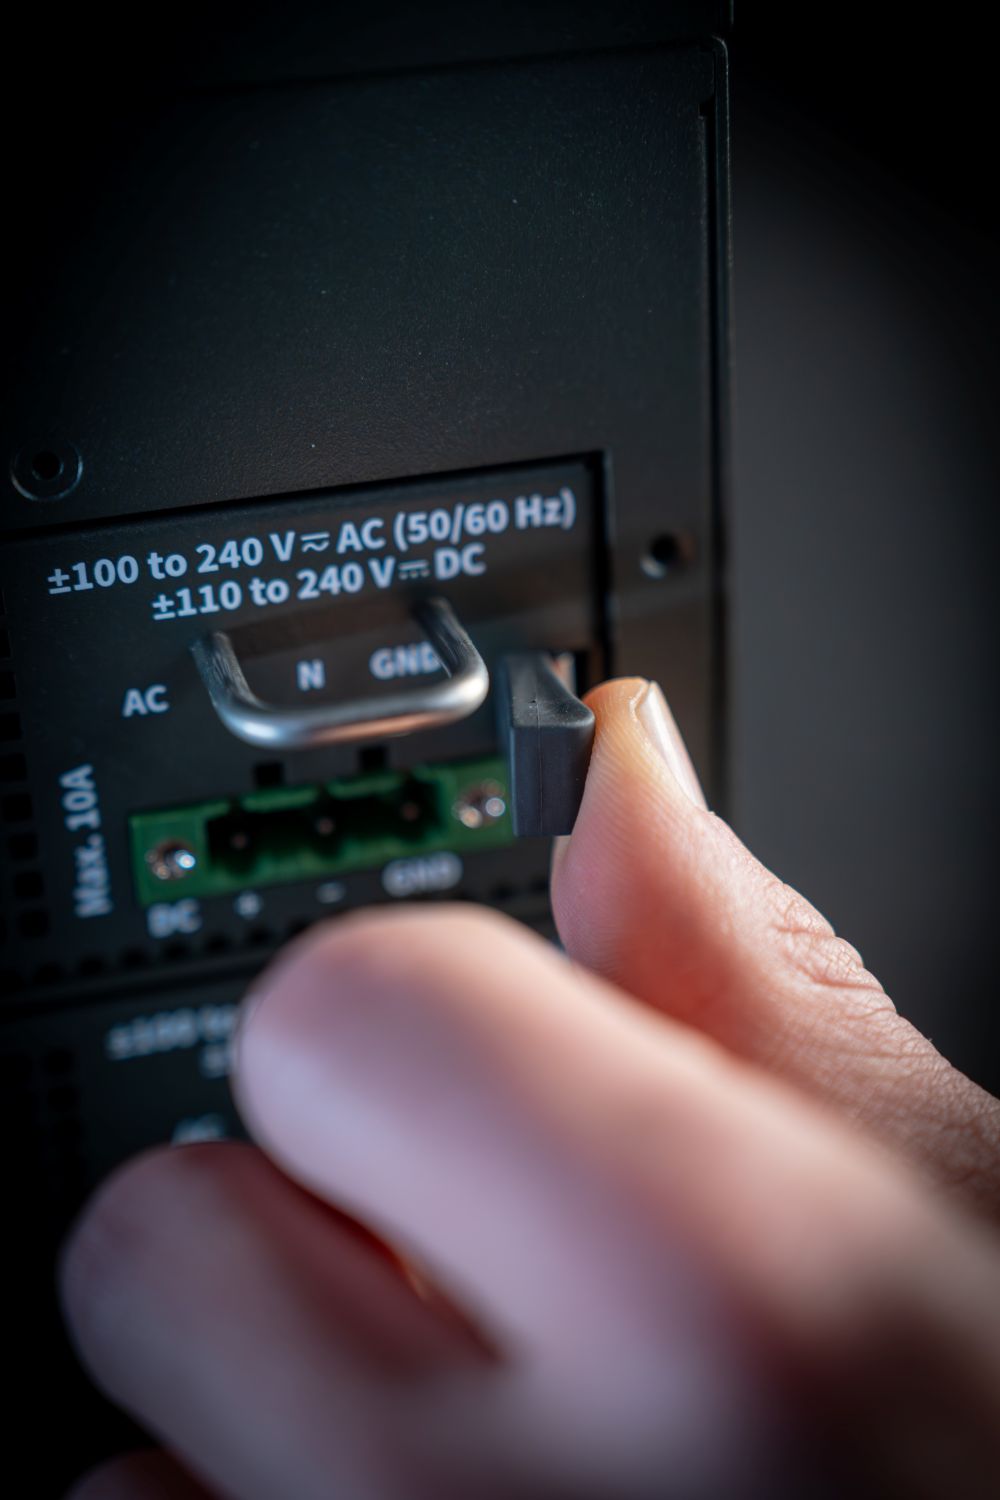
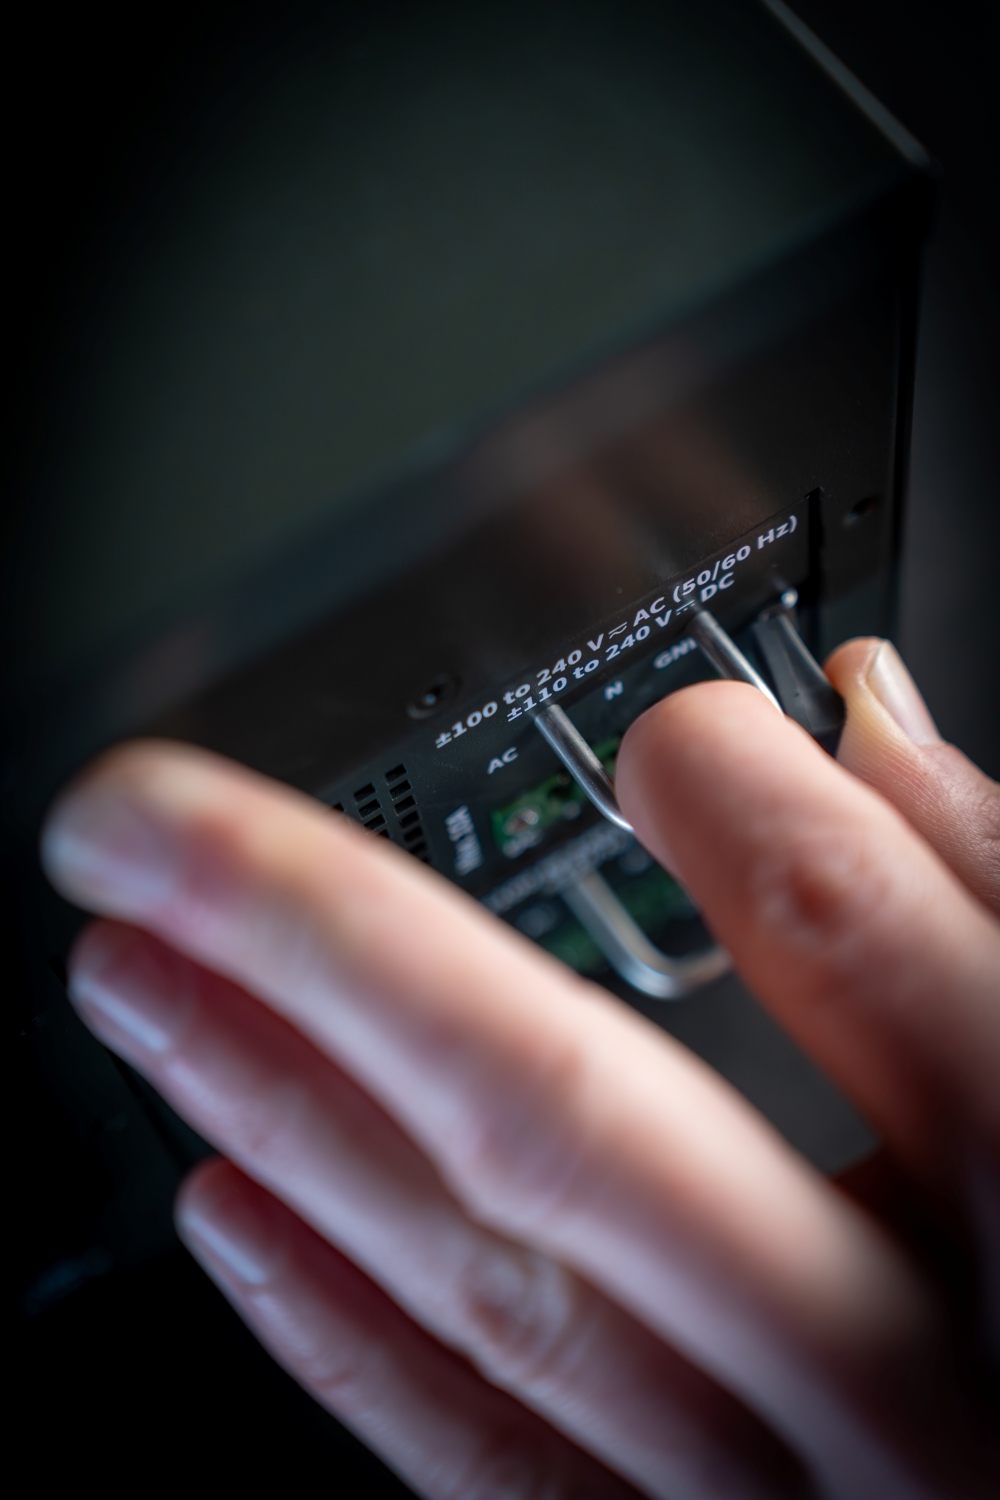
Insert a new power supply unit and push until it clicks into place.
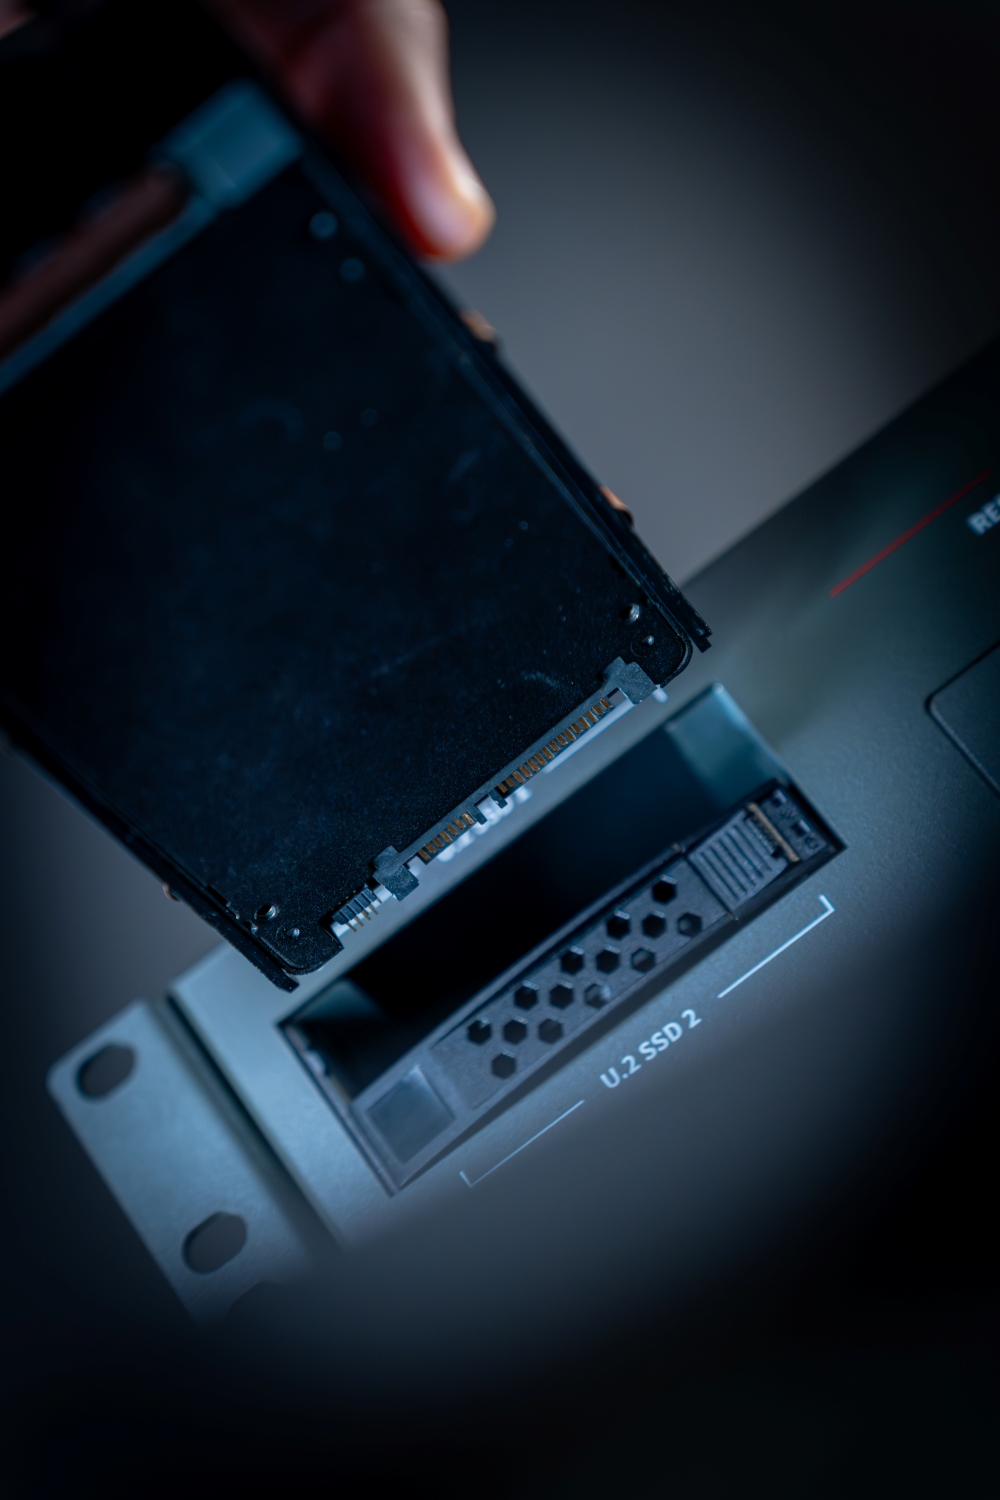
SSD Installation
Press the latch to release the handle.
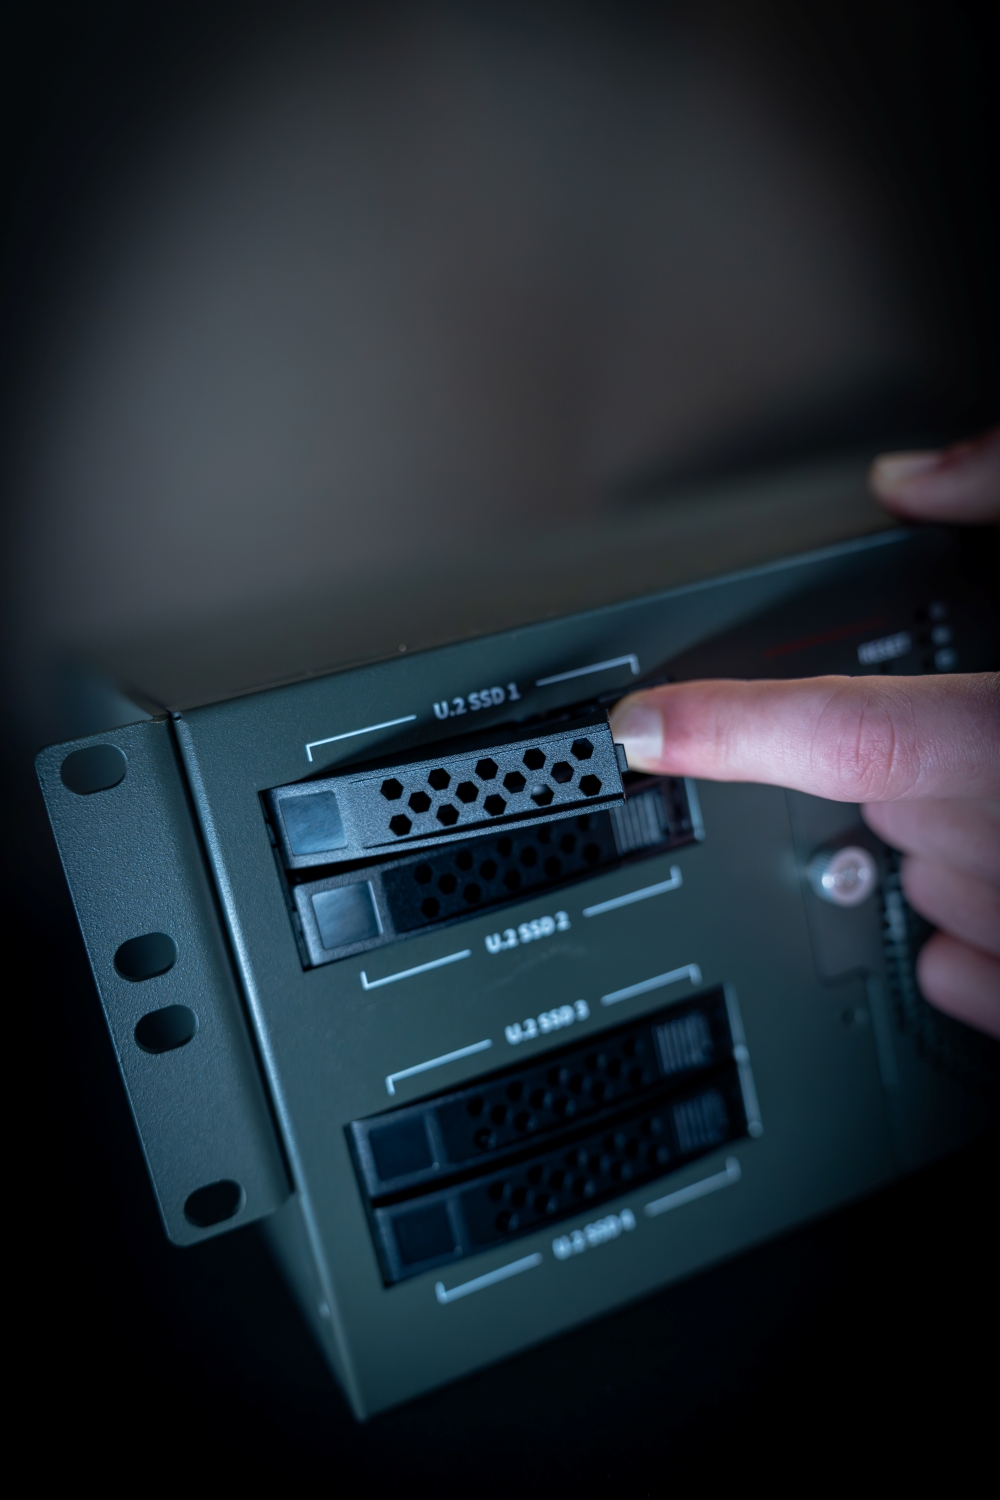
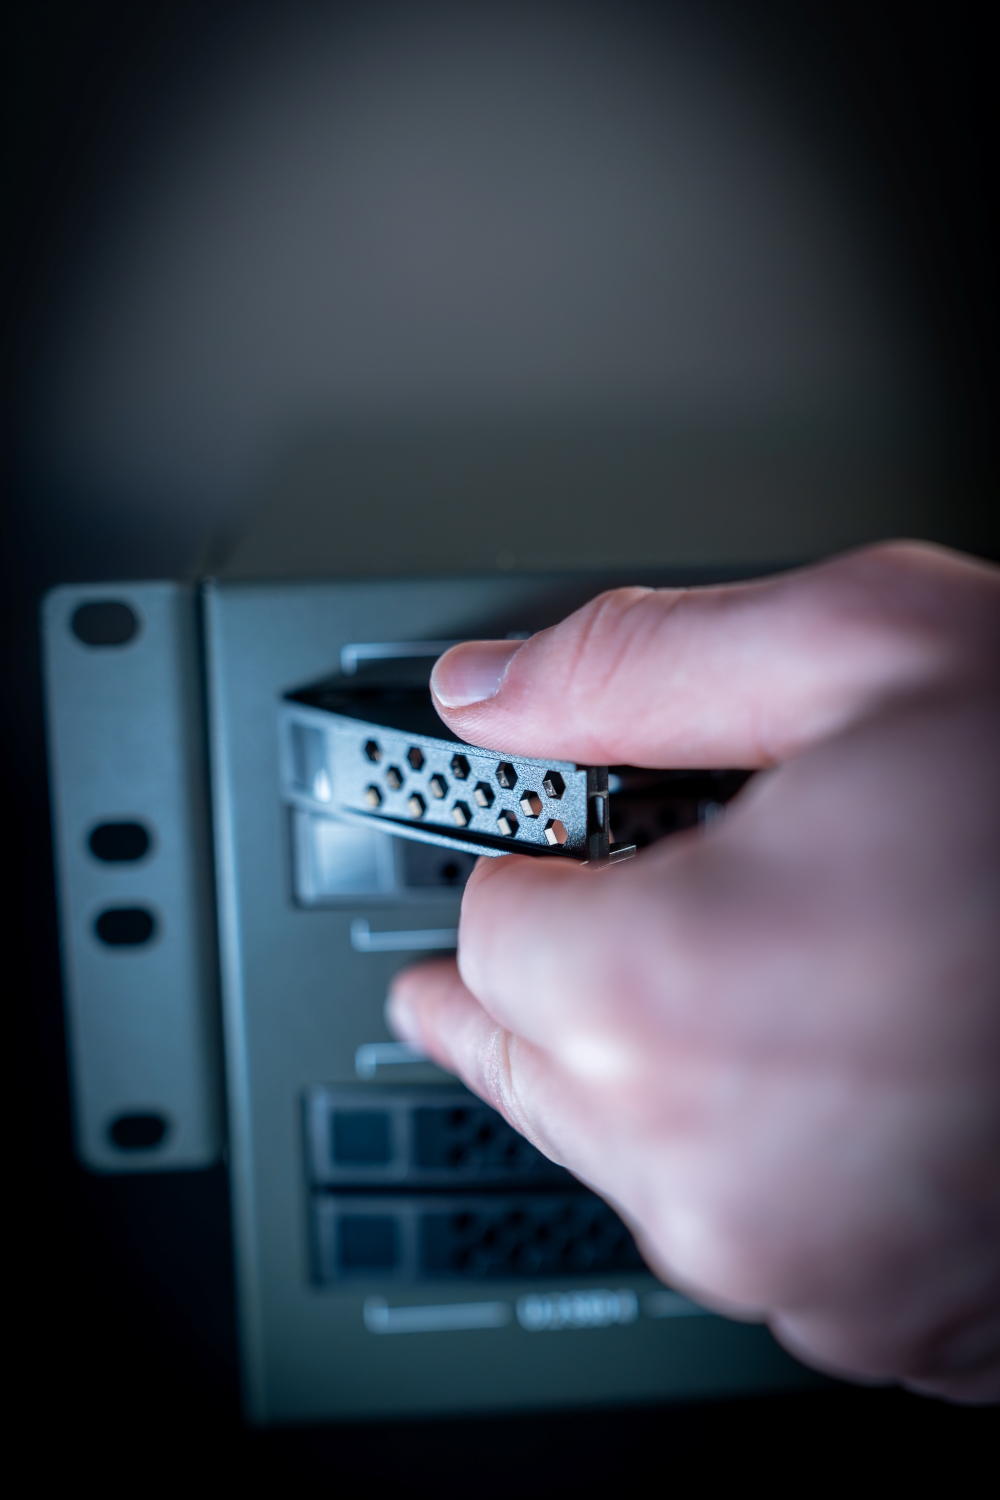
Pull the handle to release the cover.
Use screws to fasten the SSD to the tray.
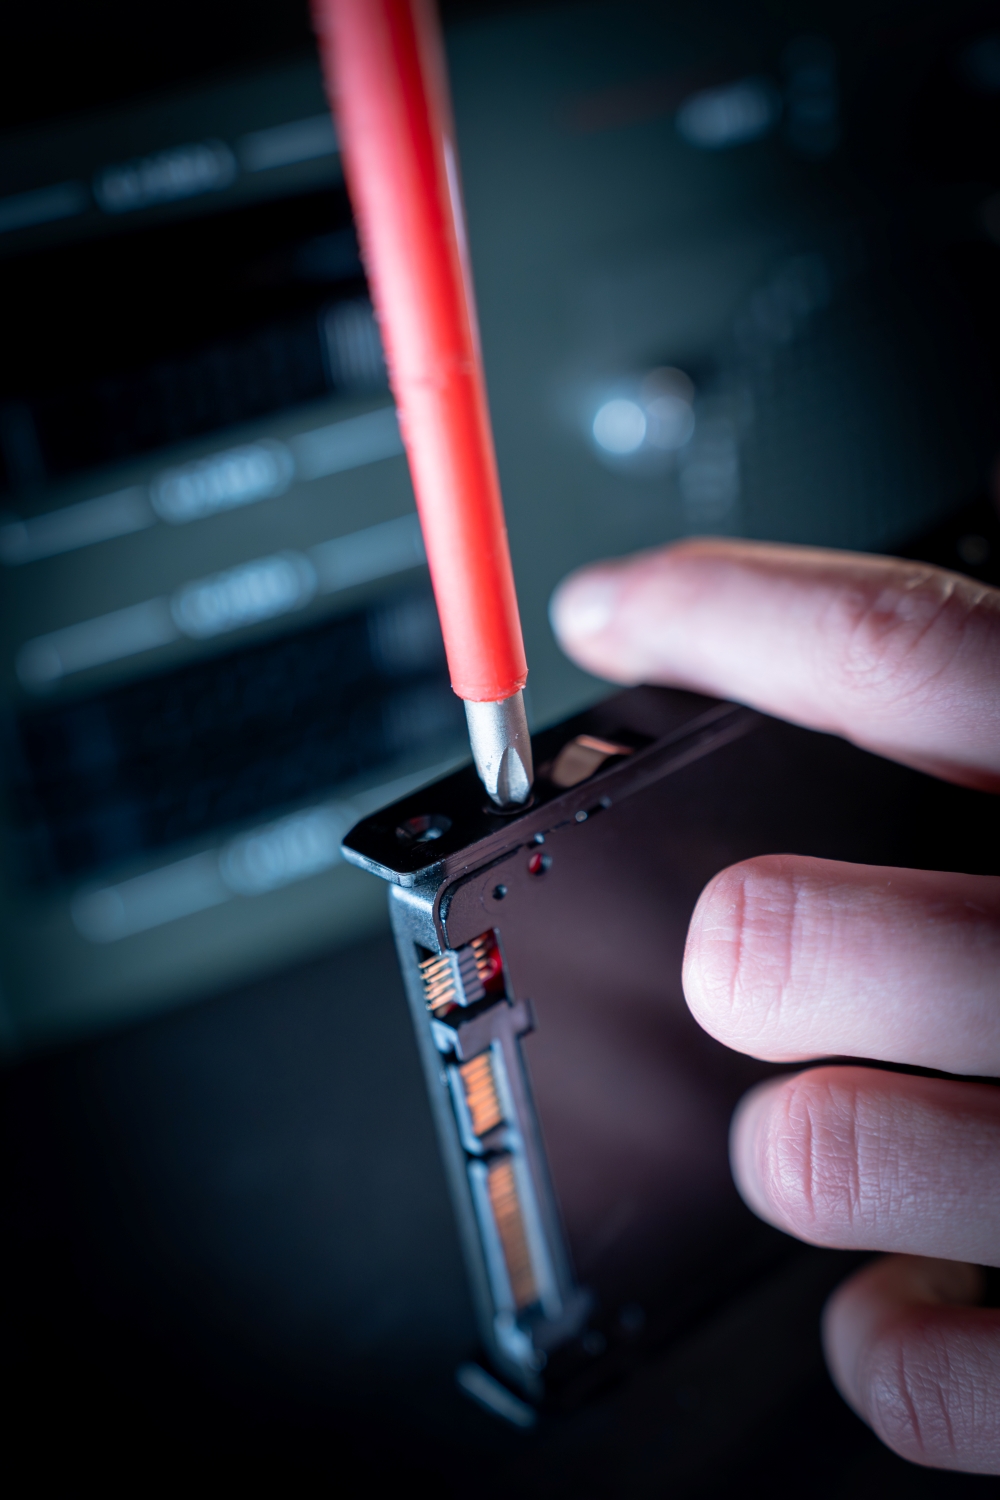
Ensure the SSD is firmly attached and does not move.
Align the tray with the bay slot
Push the tray gently until it clicks into place